How to Pack Kitchen Appliances for Moving? 5 Essential Steps
When you’re packing kitchen appliances for moving, it’s important to clean and dry every appliance completely, protect all fragile and sensitive components individually, use the right packing materials for each item type, pack and secure everything so nothing can shift inside the box, and handle appliances upright throughout loading and transport.
During a move, the risk profile changes: appliances that sit on stable countertops for years are suddenly being tilted, stacked, jostled, and transported on trucks over bumpy roads. A blender with its bowl left inside the base can crack under the weight during transit. A coffee machine with moisture still in the reservoir develops mold within days in a sealed box. Glass carafe doors, touchscreens, and blade assemblies are far more vulnerable during a move than at any other point in an appliance's life.
Knowing how to pack kitchen appliances for moving correctly is what separates an intact kitchen from an expensive post-move replacement list. These 5 steps cover everything from preparation through transport.
Why Does Packing Kitchen Appliances Require a Different Approach From Other Items?
Kitchen appliances combine electronics, glass, sharp components, liquid reservoirs, and delicate controls in a single object. Most moving mistakes happen because people treat them like any other box of household items: they get wrapped quickly, packed loosely, and loaded without orientation markings.
The result is predictable. Movement inside a box is the primary cause of appliance damage in transit. Even a minor jolt can crack glass jars, shatter blender bowls packed inside their bases, damage touchscreen panels, and loosen internal connections in electronics. Packing kitchen appliances for moving requires immobilizing each component completely, not just cushioning the outside.
What Are the 5 Essential Steps for Packing Kitchen Appliances?
Step 1: Clean and Prepare Every Appliance Before Packing
Cleaning is the step most movers skip because it feels separate from the packing process. It isn't. Moisture left inside a coffee maker creates mold in a sealed box within days. Food residue in a toaster oven attracts pests and produces odors. Leftover liquid in a blender leaks onto surrounding items in the truck.
Complete this preparation sequence for every kitchen appliance before wrapping begins:
- Empty all contents completely: food, water, coffee grounds, and loose debris.
- Clean all interior surfaces and removable components thoroughly.
- Allow everything to dry completely, ideally for 24 hours, before packing. Any residual moisture will be sealed in with the appliance.
- Detach all removable parts: blades, carafes, mixing bowls, racks, trays, and lids. These travel separately, never packed inside the appliance body.
- Coil cords neatly and secure with a twist tie or rubber band. Tape the bundled cord to the back of the appliance so it doesn't tangle with other items.
Packing a wet or food-contaminated appliance is one of the easiest problems to prevent and one of the most unpleasant to deal with after arrival.
Step 2: Protect Fragile and Sensitive Parts
Kitchen appliances have more fragile components than their exteriors suggest. Touchscreens, glass carafes, blender jars, digital control panels, and exposed knobs all require individual attention before the appliance goes into a box.
How to protect each component type:
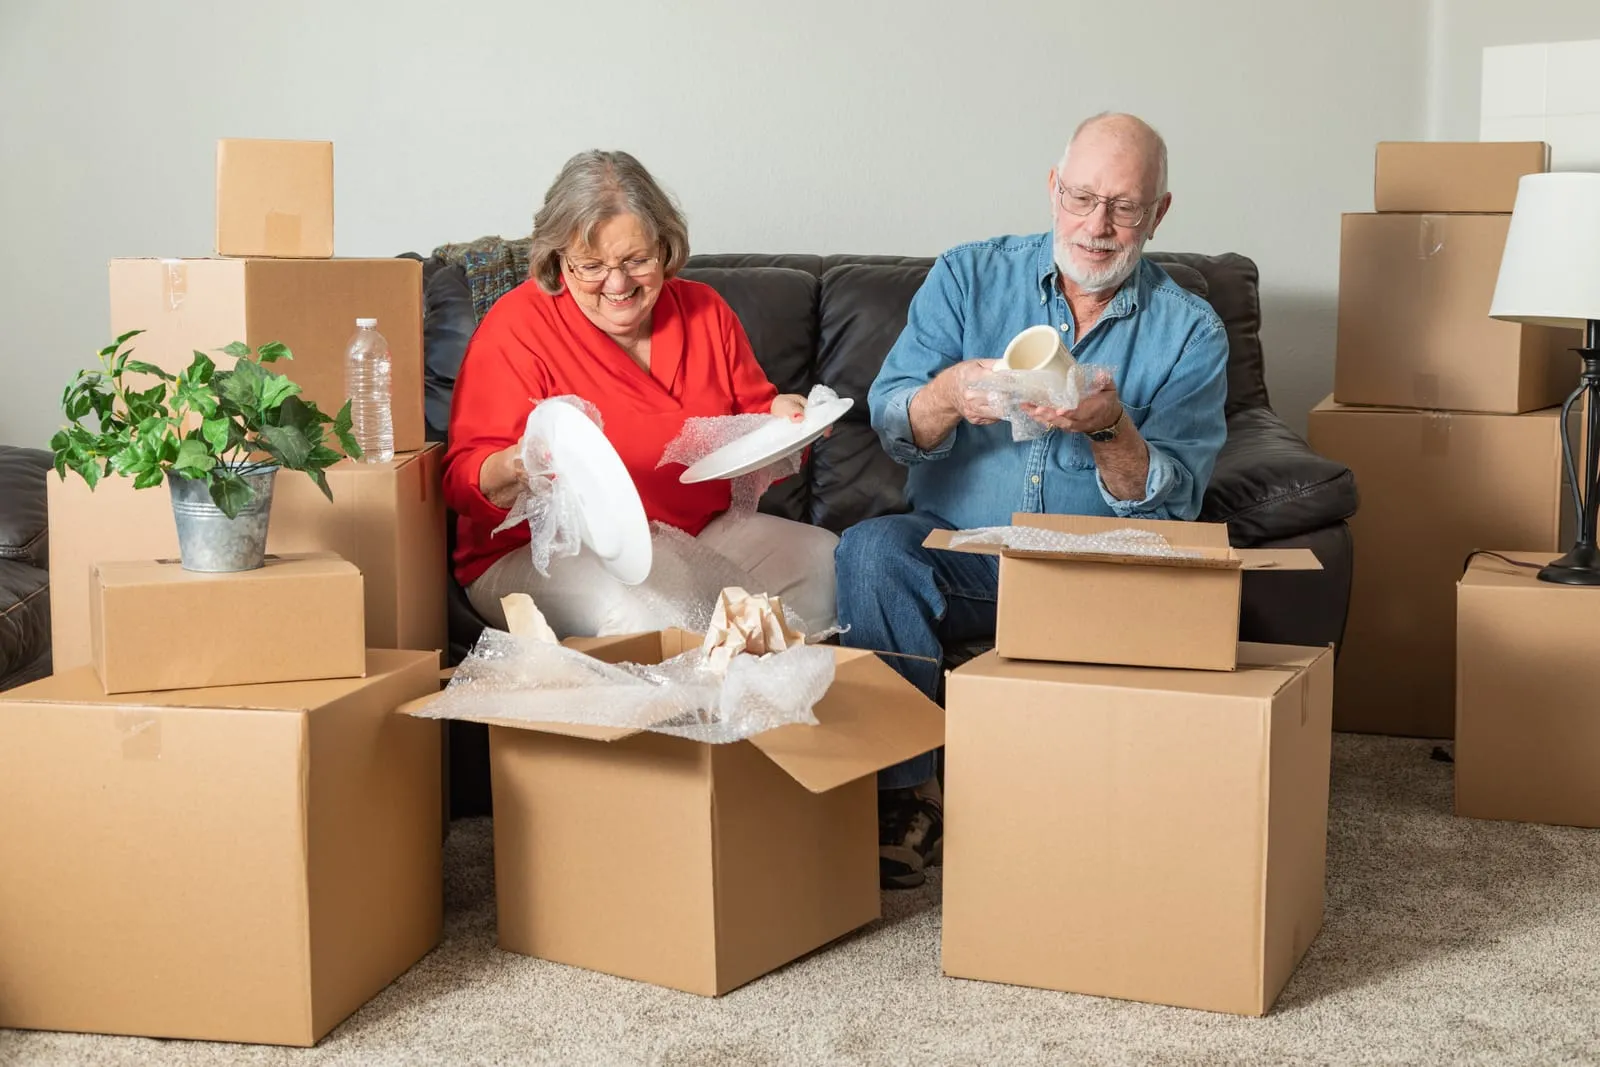
- Glass components: Wrap glass carafes, blender jars, and mixing bowls individually in at least two layers of bubble wrap. Secure the wrap with tape. Nothing hard should contact the glass directly.
- Control panels and touchscreens: Cover with a layer of foam or bubble wrap and secure with tape that does not contact the screen surface directly. Painter's tape over a foam layer works well and leaves no residue.
- Knobs and buttons: Wrap protruding knobs individually with packing paper to prevent them from catching on other items during loading and unloading.
- Blades and sharp accessories: Place blades in a zip-lock bag, wrapped in packing paper, and label the bag clearly. Never pack blades loose in a box with other components.
- Detached parts and accessories: Collect all removed parts in a labeled zip-lock bag or small box. Tape this to the outside of the main appliance box so it doesn't get separated.
Step 3: Choose the Right Packing Materials
The best way to pack kitchen appliances for moving starts with the right materials. Using whatever is on hand, old newspaper, thin cardboard, or single-layer wrapping, produces inconsistent protection and is the most common cause of avoidable damage.
Original packaging is always the first choice. It is engineered for the appliance's exact dimensions, internal fragility, and weight distribution. If original boxes are not available, select a sturdy double-wall box that is only slightly larger than the appliance. A box that is too large allows the appliance to shift, even with padding.
Label every box on two adjacent sides with contents, destination room, "Fragile," and "This Side Up." A box with only a top label loses its identification the moment other boxes are stacked on it.
Step 4: Pack Appliances Efficiently and Securely
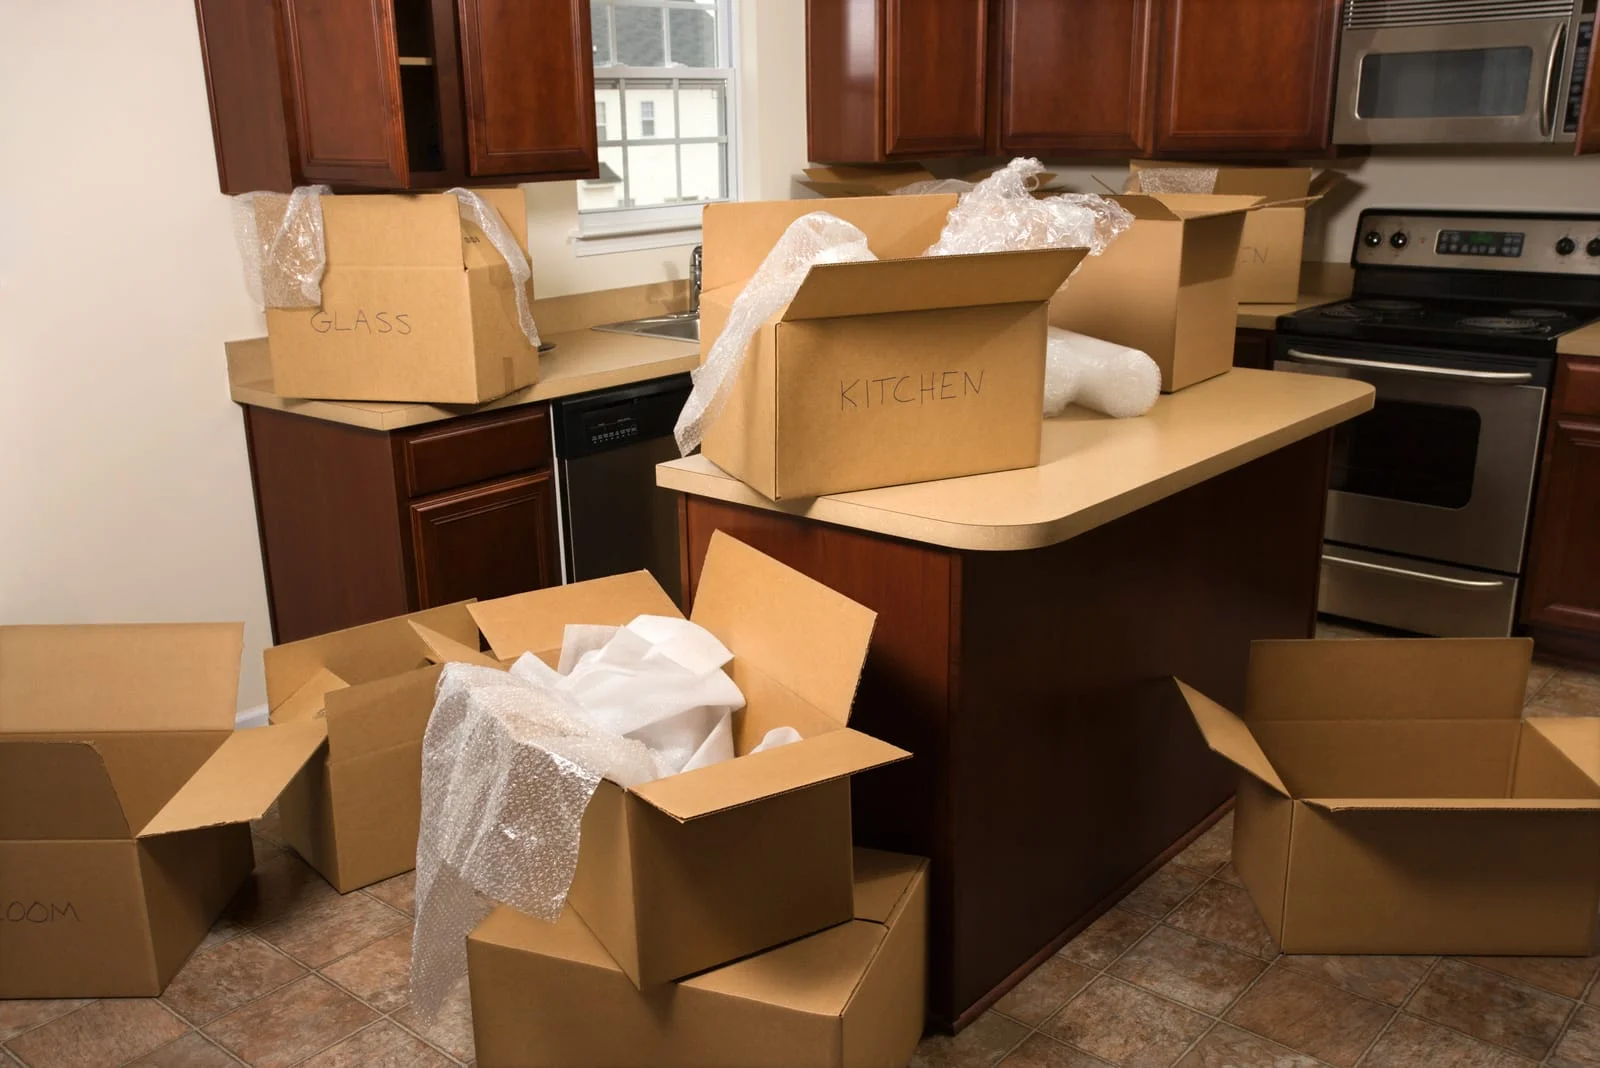
Efficient packing is not about fitting more into fewer boxes. It is about ensuring that nothing inside any box can shift, contact another object without cushioning, or be crushed by the weight of items stacked above it.
Follow this loading sequence:
- Place a 2 to 3-inch layer of packing paper or foam at the bottom of the box before anything goes in.
- Place the appliance upright, in its natural operating orientation, unless the manufacturer's manual specifies otherwise.
- Add wrapped accessories and detached parts around and above the appliance, placing heavier components at the bottom and lighter ones toward the top.
- Fill all remaining gaps with packing paper or foam until nothing moves when the box is gently shaken.
- Test by shaking: if you hear or feel movement, add more cushioning before sealing.
- Seal the box with the H-tape method: one strip along the center seam and one along each edge flap, forming an H across both top and bottom.
For larger kitchen appliances like microwaves, slow cookers, and stand mixers, pack each in its own box with extra cushioning rather than combining them. Shared boxes create pressure points between appliances that lead to cracking and denting. Small appliances of similar size and weight, such as a toaster and a kettle, can be packed in the same box with packing paper between them and no direct contact between surfaces.
Step 5: Handle and Transport Kitchen Appliances Safely
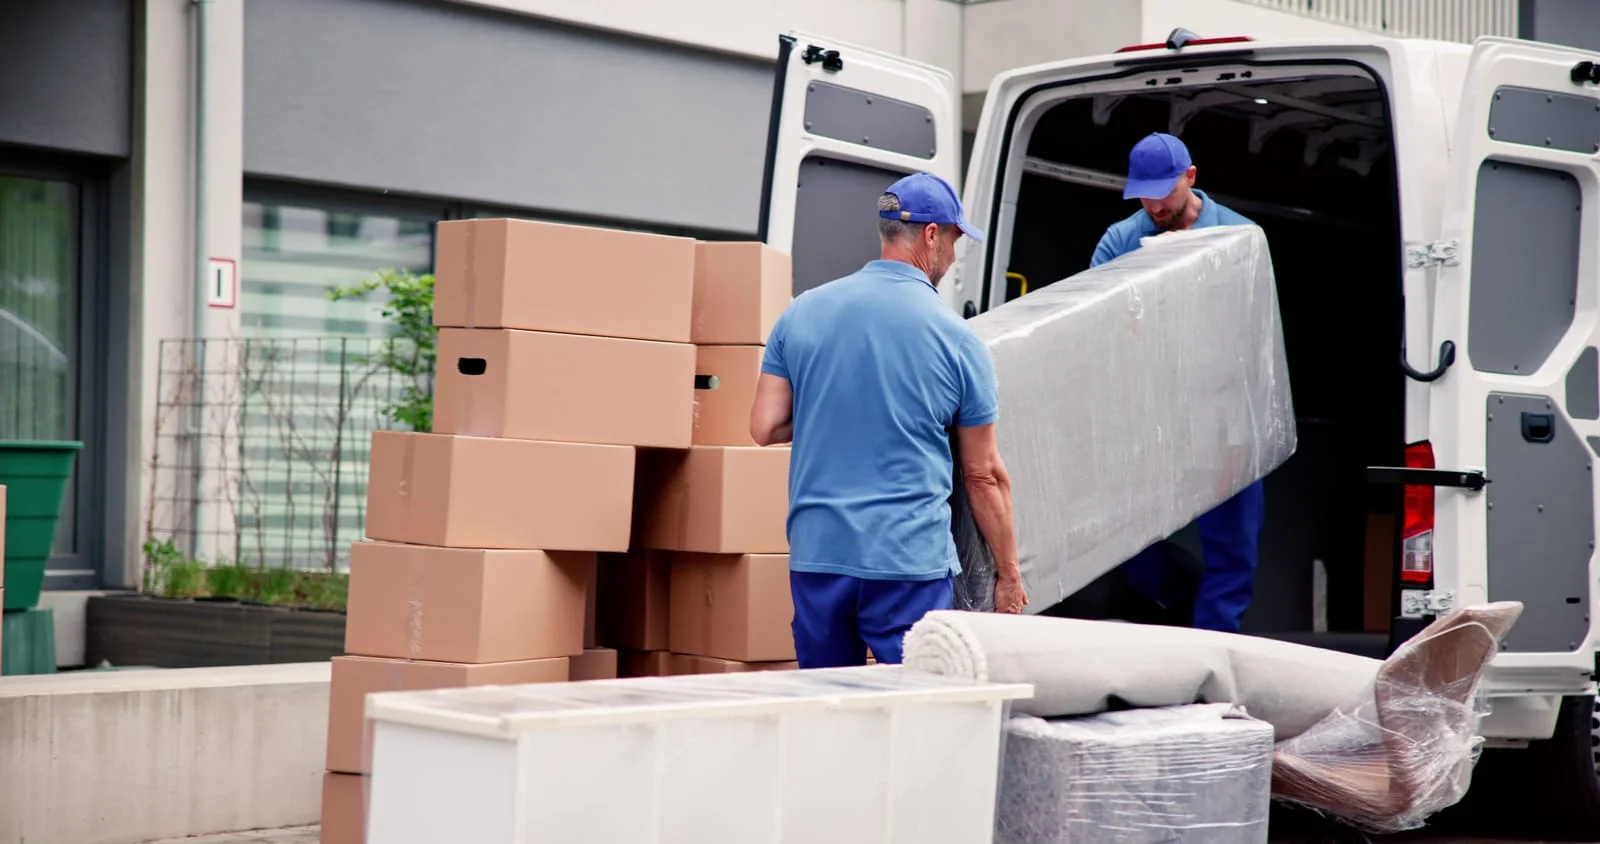
Proper packing protects appliances in the box. Safe handling protects them during every transition point: out of the kitchen, into the truck, through transit, and into the new home.
Key handling practices for moving kitchen appliances:
- Keep all appliances upright throughout the move. Coffee machines, blenders, and mini-fridges are particularly sensitive to tilting, which can displace internal components and damage electronic connections.
- Never stack heavy boxes on top of appliance boxes. Mark appliance boxes with a "Do Not Stack" note if needed.
- Use a hand dolly for heavy items like stand mixers, large microwaves, and countertop ovens. Carrying these by hand over any distance risks dropping and losing grip on awkward shapes.
- In the truck, place appliance boxes against the truck wall and secure with moving straps so they cannot shift during braking and turns.
- During unloading, set boxes down gently rather than dropping them. The final impact of a dropped box is one of the most common causes of glass breakage that happens after otherwise careful packing.
For a long-distance move, BoxStar Movers' professional packing services ensure that kitchen appliances and all other fragile items are packed to the standard that prevents transit damage.
How These 5 Steps Work Together to Protect Your Kitchen Appliances
The 5 steps for packing kitchen appliances for moving work as a sequence, not a checklist of independent options. Cleaning without drying leaves moisture that packaging seals in. Wrapping without the right materials allows movement that cushioning cannot prevent. Packing without labeling means orientation gets lost during unloading. Handling without orientation awareness undoes everything that correct packing achieved.
Follow the steps in order, use the right materials at each stage, and your kitchen appliances will arrive in the same condition they left. The cost of doing this properly is a few hours and the right packing supplies. The cost of skipping steps is a cracked carafe, a broken touchscreen, or a blender that no longer works.
Moving soon and need packing help?
BoxStar Movers offers professional packing services with the right materials and trained crews to protect every item in your kitchen.
Frequently Asked Questions
Should I keep removable parts like blender blades separate or attached?
Always separate them. Blades, mixing bowls, carafes, and other detachable components should be wrapped individually and packed in a labeled bag or small box separate from the appliance body. Parts packed inside the appliance base are subject to the weight and movement of the appliance itself during transit, which is a reliable cause of cracking and breakage.
What is the best way to protect screens and buttons on electronic appliances?
Apply a layer of foam or bubble wrap over the screen and secure it with tape that does not contact the screen surface directly. Painter's tape over a foam sheet works well and leaves no adhesive residue. For knobs and protruding buttons, wrap each one in packing paper to prevent it from catching on other items during loading.
Can I use towels or clothing instead of packing peanuts for cushioning?
Yes, for supplemental padding around larger appliances. Clean towels and clothing add effective cushioning and reduce the need for packing paper. However, they should not be the sole protection for glass components, which require firm, close-fit wrapping like bubble wrap to prevent movement. Towels compress under weight, which can leave glass components with insufficient support.
How should I pack cords to prevent tangling or damage during the move?
Coil each cord neatly and secure it with a twist tie or rubber band. Tape the bundled cord directly to the back of its appliance or place it in a labeled zip-lock bag taped to the outside of the appliance box. Never let cords hang loose inside a box where they can tangle with other items or get caught in box seams during opening.
Are there appliances that should never be laid on their side during moving?
Yes. Coffee machines, refrigerators, and mini-fridges should always be transported upright. Tilting these appliances displaces internal fluids and components in ways that cause damage not immediately visible but which appear as faults after the appliance is restarted. Blenders with glass jars, food processors, and any appliance with a liquid reservoir are also vulnerable to tilting, which can stress seals and cause leaks during transport.